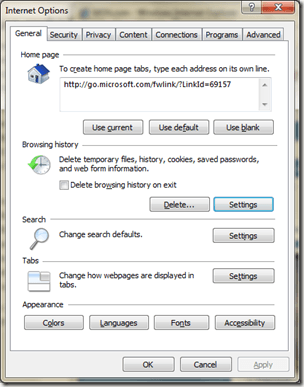
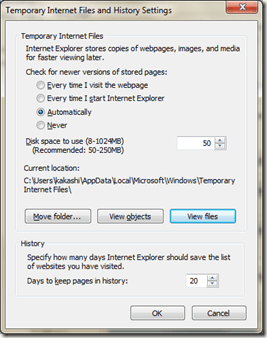
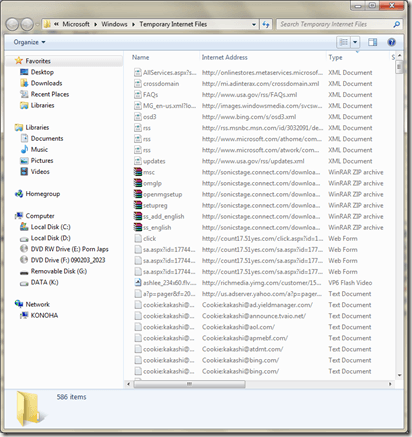
I’ve previously written several articles on how you can delete your Internet Explorer browsing history using a plugin, delete browsing history manually, or delete just your Google search history.
This is all great for those who want to get rid of any trace of the websites they visited, but what if you want to make sure that someone cannot delete the browsing history on a computer?
Is there any way to prevent someone from deleting or erasing the Google search history and the history of websites visited? Yes! If you want monitor which websites your child, spouse, employee, etc are visiting, then you can use Group Policy in Windows Vista to make sure it cannot be deleted.
Here’s how! First, click on the Start button and type in GPEDIT.MSC in the Instant Search box.

Now on the left hand side, you can either expand Computer Configuration or User Configuration. Choose the former if you want to apply the settings for all users that use the computer and the latter if you only want these settings for the currently logged in user.
Now expand Administrative Templates, Windows Components, Internet Explorer and chooseDelete Browsing History.

Note that you may not have a Delete Browsing History option and if not, then all of the settings will be underInternet Explorer, like shown above. Now you want to find each one of these settings and configure them as Enabled.
Disable “Configuring History”
Prevent the deletion of temporary Internet files and cookies
Turn off “Delete Browsing History” functionality
Turn off “Delete Forms” functionality
Turn off “Delete Passwords” functionality
Disable changing Temporary Internet files settings
Disable changing Advanced page settings
Once you enable all of those settings in Group Policy, make sure to restart the computer. In order to enable an option, you have to double-click on it and choose Enabled.
Now when someone browses the Internet on that computer using Internet Explorer, then they will not be able to delete their browsing history, temporary Internet files, cookies, filled-in forms, or passwords.
Note that this will only work for Internet Explorer! If someone decides to use Firefox or Google Chrome, etc, then they can delete the history for those browsers, regardless of what the group policy settings are.
If you want to be able to track Internet browsing history regardless of what browser someone is using, you’ll have to use some kind of third-party software to do that. Earlier, I wrote about how you can use Google Desktop to monitor computer usage. Enjoy!